Automatically Annotate Google Data Studio Reports with Algorithm Updates

In this post, I'll show you how to create a Google Data Studio report using Google’s new Search Ranking Updates table.
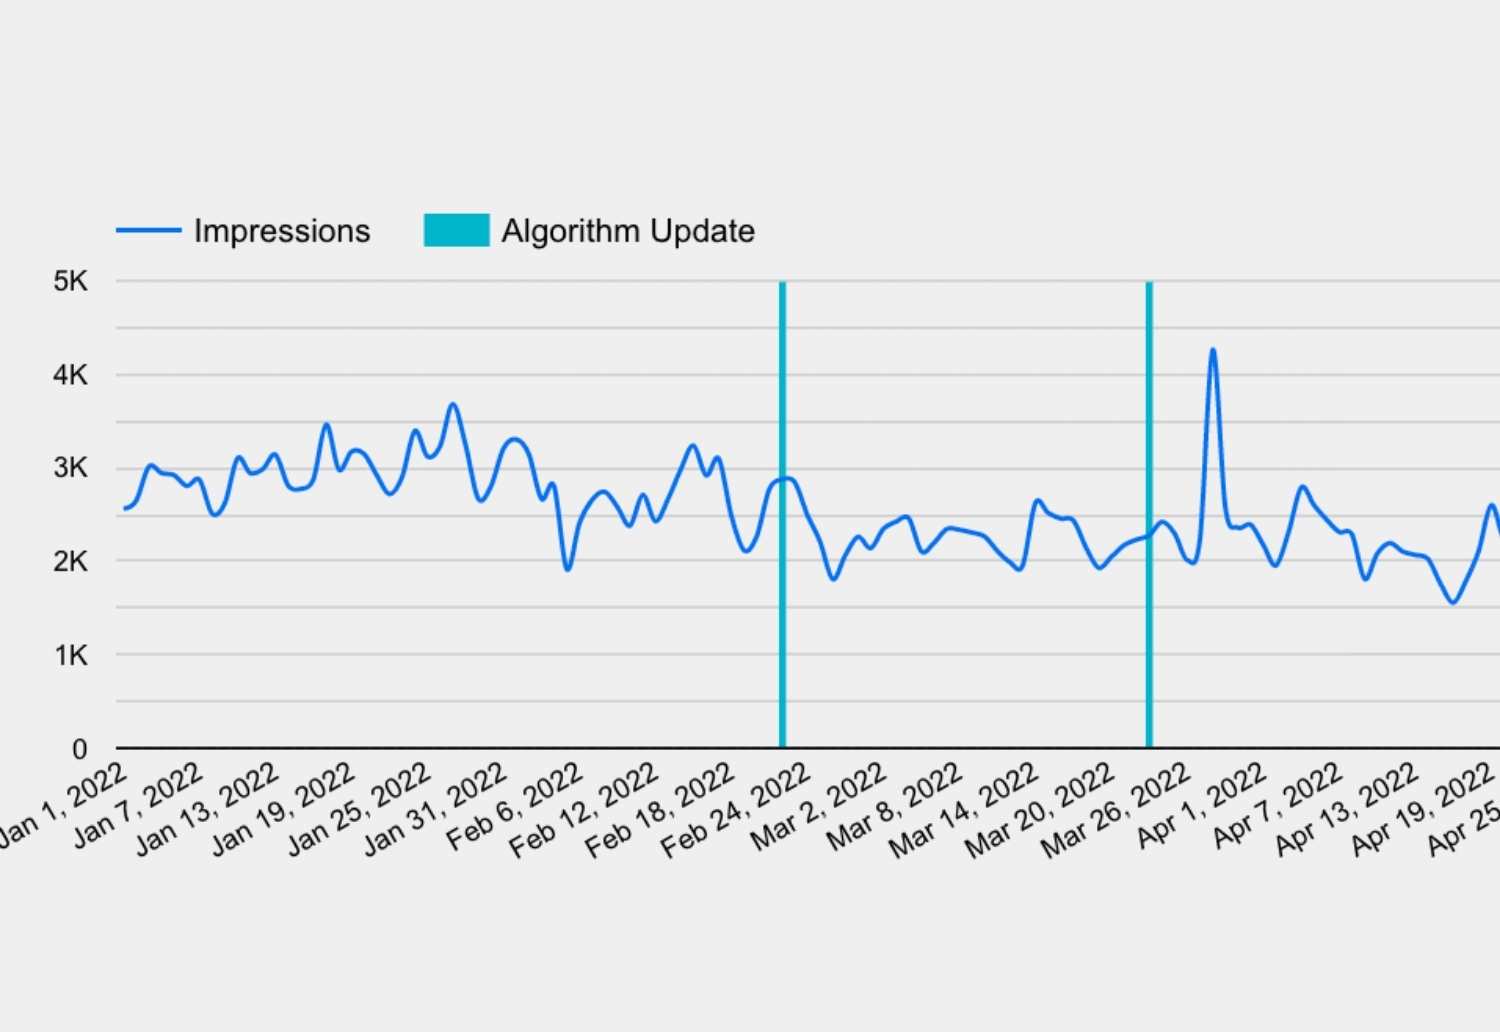
With this approach, you will automatically annotate your charts and metrics when Google confirms a new algorithm update.
Context: Google releases Search Ranking Updates timeline
Last week, Google published a timeline documenting all of the major algorithm updates we’ve seen to date. Previously, all of the official communications related to algorithm updates were sprinkled throughout the Google Search Central Blog.
This timeline is a helpful cheat sheet to help monitor the impact of algorithm updates over time. It includes the latest ranking algorithm updates that Google deems relevant to website owners.
While the timeline is already a helpful tool as-is, we can make it even more valuable by importing it into Google Data Studio. In this post, we’ll show you how to do it in three easy steps.
Check out the video below or keep reading for a step-by-step guide.
Step 1: Import the Search Ranking updates into Google Sheets
Import the Google’s Search Ranking updates table into Google Sheets using the IMPORTHTML function.
IMPORT HTML Imports data from a table or list within an HTML page.
How to do it:
- Open a new Google Sheet
- In cell A2, paste the following: =IMPORTHTML("https://developers.google.com/search/updates/ranking", "table", 1, "en_US")
- After the table has been imported, name the columns “Date” and “Algorithm Update”
- Hide row 2 (“Ranking updates release history”)
OR
Simply make a copy of my Google Sheet. You can find it here.
Understanding the IMPORTHTML function:
Here’s a quick overview of the IMPORTHTML syntax for future reference. If you’re not interested in how it works, skip to the next step.
The IMPORTHTML function imports data from a table or list within an HTML page.
Example
IMPORTHTML("http://en.wikipedia.org/wiki/Demographics_of_India", "table", 4, "en_US")
- Url: The URL of the page to examine, including protocol (e.g. http://).
- Query: Either "list" or "table" depending on what type of structure contains the desired data.
- Index: The index, starting at 1, identifies which table or list in the HTML source should be returned.
- Locale: A language and region locale code to use when parsing the data. If unspecified, the document locale will be used. You can find a list of locale codes here.
Add the Search Ranking Update sheet to Google Data Studio.
How to do it:
- Click the “add data button”
- Select Google Sheets
- Find the Search Ranking updates Google sheet you just created
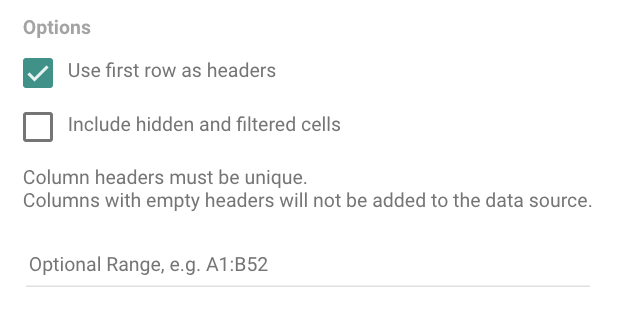
- Make sure to uncheck “Include hidden and filtered cells”

Step 3: Create a blended report
In this example, we’ll blend our new Google sheet with Google Search Console data.
The impact of algorithm updates is usually most obvious when looking at search metrics like impressions and average position. These metrics are pulled from Google Search Console.
But, you can also blend the algorithm updates sheet with Google Analytics data or any other relevant data source. For example, you might want to look at the impact that the algorithm update had on new users or sessions, which you will get by looking at Google Analytics data.
How to do it:
First, blend your data sources
- Add a chart with the metrics you want to measure over time (eg. impressions)
- Click “+ Blend Data” under Data Source
- Find your data source
- Join the “Date” Field
- Add the relevant dimensions and metrics
Then, format your chart(s)
- Make sure your “Algorithm Update” metric is formatted as CTD (count distinct)
- Go to Chart Style and change the “Algorithm Update” metric from “Line” to “Bars” style
- Change the “Algorithm Update” Axis from Left to Right
Troubleshooting common issues
"Invalid argument type" error
If you’re getting an “Invalid argument type” error, make sure both of your data sources are using the new Date & Time data type.
To upgrade your “Date” field to the correct format:
- Edit your data source.
- Locate the compatibility mode date field you want to convert.
- To the right, click the Type menu, then select Date or Date & Time.
- Select the desired date type.
- In the dialog box that appears, click UPGRADE.
You can find more help on the Date & Time issue here.
If you run into any other issues, let us know. We'll document the most common errors in this post.
Hope this helped!


